zabbix: 安装 - source(2.4)
27 Nov 2015
1. preparation
# 准备工具
yum groupinstall -y base
# 安装httpd、mysql、php
yum install -y httpd  mysql-server mysql mysql-libs mysql-devel php php-mysql php-bcmath php-gd php-mbstring
# 安装编译器等依赖
yum install -y gcc gcc-c++ libxml2-devel net-snmp-devel libcurl-devel php-xml
2. zabbix user
groupadd zabbix
useradd -g zabbix zabbix
3. service start & checking ports
# 启动httpd、mysqld、zabbix服务
service mysqld start
service zabbix-server start
service zabbix-agent start
service httpd start

# 设置服务开机启动
chkconfig --add mysqld
chkconfig --add zabbix-server
chkconfig --add zabbix-agent
chkconfig --add httpd

chkconfig mysqld on
chkconfig zabbix-server on
chkconfig zabbix-agent on
chkconfig httpd on

# 检查端口是否监听
netstat -lnpt |grep -E 'zabbix|mysqld|httpd'
4. MySQL preparation
# set root password
mysqladmin -u root password 'new-password'

# create database
mysql -uroot -p -e 'create database zabbix'
mysql -uroot -p --default-character-set=utf8 zabbix < /tmp/zabbix-2.4.7/database/mysql/schema.sql
mysql -uroot -p --default-character-set=utf8 zabbix < /tmp/zabbix-2.4.7/database/mysql/images.sql
mysql -uroot -p --default-character-set=utf8  zabbix < /tmp/zabbix-2.4.7/database/mysql/data.sql

# create mysql user for zabbix
mysql -uroot -p -e "grant all on zabbix.* to 'zabbix'@'localhost' identified by 'yourpassword'"
5. 源码安装zabbix2.4
# 安装zabbix服务
wget http://jaist.dl.sourceforge.net/project/zabbix/ZABBIX%20Latest%20Stable/2.4.7/zabbix-2.4.7.tar.gz
tar zxvf zabbix-2.4.7.tar.gz
cd zabbix-2.4.7
./configure --prefix=/usr/local/zabbix24 --enable-server --enable-agent --with-mysql --enable-ipv6 --with-net-snmp --with-libcurl --with-libxml2
make install
6. selinux & iptables
# 暂时关闭iptables和selinux
service iptables stop
chkconfig iptables off
setenforce 0
vim /etc/selinux/config
*******************************
SELINUX=disabled
**********************************
7. 配置zabbix的server、agentd和web目录
# 1. server 配置数据库
vim /etc/zabbix/zabbix_server.conf
***********************************************************
DBHost=localhost
DBName=zabbix
DBUser=zabbix
DBPassword=yourpassword
***********************************************************

# 2. 启动server服务和agentd服务
/usr/local/zabbix24/sbin/zabbix_server
/usr/local/zabbix24/sbin/zabbix_agentd

# 3. 准备web目录
cd /var/www/html/
mkdir zabbix
# frontsend目录在下载的zabbix包里
cd /tmp/zabbix-2.4.7/frontends/php/
# 拷贝frontsend里的php文件到web目录中
cp -a . /var/www/html/zabbix/
8. web端安装引导
8.1. 局域网内,用浏览器访问http://zabbix-server-ip/zabbix
按照错误提示修改timezone,也有可能不报这个错
date(): It is not safe to rely on the system's timezone settings. You are *required* to use the date.timezone setting or the date_default_timezone_set() function. In case you used any of those methods and you are still getting this warning, you most likely misspelled the timezone identifier. We selected 'Asia/Chongqing' for 'CST/8.0/no DST' instead [include/page_header.php:186]
vim /etc/php.ini
***************************************
date.timezone = Asia/Shanghai
***************************************

service httpd restart
8.2. 刷新访问页面http://zabbix-server-ip/zabbix
点击next,进入check of pre-requisites页面,按照错误提示修改相应项
                                 Current value        Required
PHP option post_max_size                8M           16M                    Fail
PHP option max_execution_time           30           300             Fail
PHP option max_input_time               60           300             Fail
vim /etc/php.ini
***************************************
post_max_size = 16M
max_execution_time = 300
max_input_time = 300
***************************************

service httpd restart
如果错误提示中有
PHP xmlwriter                off                 Fail
PHP xmlreader                off                 Fail
yum install php-xml -y
service httpd restart
8.3. 刷新页面,当全部项显示ok状态的时候,点击next
输入user和password,记得最后test一下,查看是否返回ok,保证信息输入正确
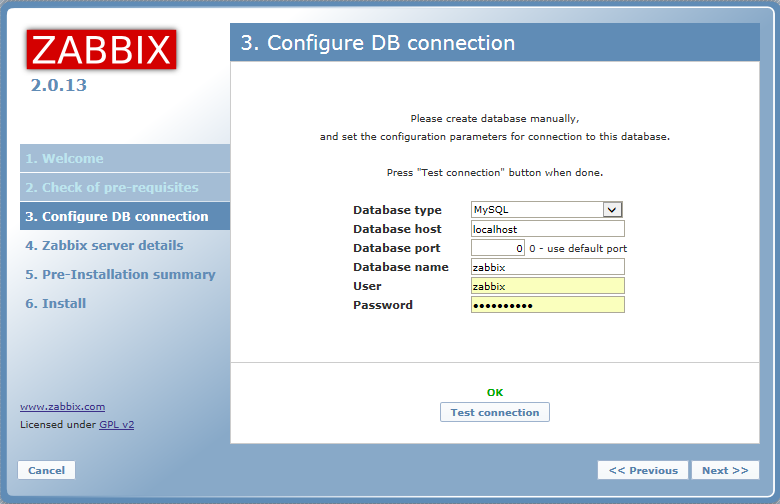
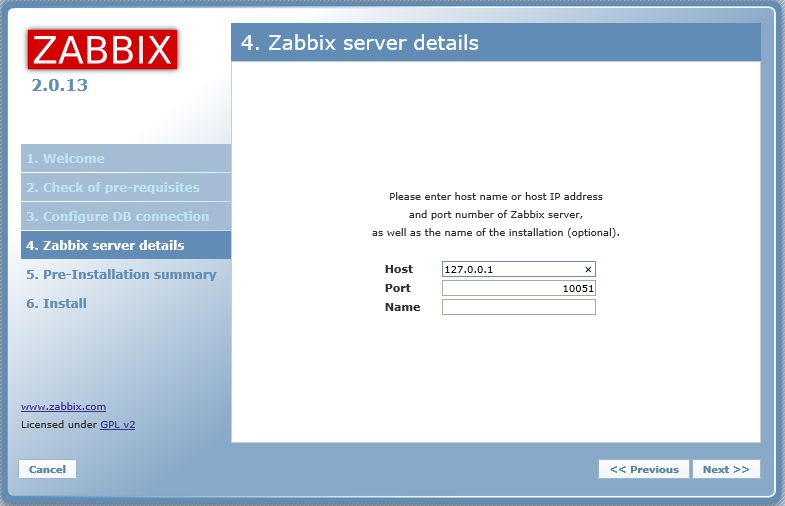
host填写127.0.0.1
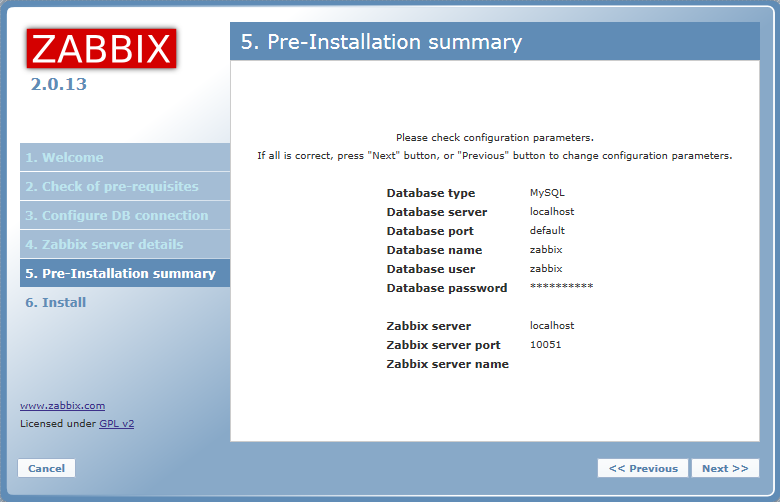
接下来是输入信息的汇总展示
最后是安装完成,但提示安装的配置文件未创建在”/etc/zabbix/web/zabbix.conf.php”,但可以手动下载
手动下载后,拷贝到提示的目录中去,点击retry,当状态变成ok后,点击下一步(我是用samba+rsync传的)
登录界面,用默认的username:admin, password:zabbix登录